This article compiles the operational steps and explanations for the advanced feature “FB Pixel + GA4.” Let’s take a look!
- Setting up Facebook Pixel in 8 Steps
- Setting Up GA4 (Google Analytics 4) Code in 10 Steps
- Setting Up GTM(Google Tag Manager)in 3 Steps
Setting up Facebook Pixel in 8 Steps
Embedding Facebook Pixel into your projects on OOOPEN Lab can help you collect respondent data and achieve more precise ad targeting!
Simply follow these steps to successfully obtain your Facebook Pixel code and complete the setup:
Step 1: Go to Facebook Events Manager
Navigate to the “Events Manager” page by clicking on “All Tools” on the left side of the Facebook Business Manager homepage, then selecting “Events Manager.”

Step 2: Start Linking Data Sources
On the “Events Manager” page, click on “Connect Data Sources.”

Step 3: Name Your Pixel
On the page, select “Web,” then click “Connect.” Name your pixel and click “Create Pixel.”

Step 4: Set Up Website URL
Enter the URL of your OOOPEN Lab’s publish link (https://www.ooopenlab.cc/quiz/********************) on the page. Click “Check,” and once completed, click “Continue.”

Step 5: Choose Setup Method
Select the option to “Manually Install the Code Yourself” to connect your website. You will then be provided with your Pixel ID at the bottom of the page.

Step 6: Set Up Pixel ID in Project Backend
Copy the “Pixel ID” and paste it into the Facebook Pixel field in the “Share and Publish Settings” page of your project in OOOPEN Lab. This completes the setup.

Step 7: Verify Installation
Navigate to the project page with the embedded tracking code. Use the Chrome extension “Meta Pixel Helper” to compare the “Pixel ID” detected by the extension with the “Pixel ID” from Step 4. This allows you to confirm whether the installation was successful.

Step 8: Regularly Track Data
During the project’s publication period, you can retrieve data such as “PageView,” “Submit,” “ClickCTA,” and “ClickShare” from the Meta Pixel Helper backend.

Setting Up GA4 (Google Analytics 4) Code in 10 Steps
OOOPEN Lab also supports embedding Google Analytics 4 (GA4) code, which helps you understand browsing behavior and audience composition.
Simply follow these steps to obtain your GA4 code and complete the setup:
- If you have never set up GA4 before, or need to set up a new GA4 property, start from step 1.
- If you have already set up GA4 and just need to add a new tracking code, start from step 4.
(Optional) Step 1: Start Setting Up GA4
If you have never set up GA4 before, go to Google Analytics and click on “Start measuring.”

(Optional) Step 2: Account and Resource Configuration
- Customize the “Account Name” and select the “Account Data Sharing Settings” as needed.
- Customize the “Property Name,” “Reporting Time Zone,” and “Currency.”

(Optional) Step 3: Fill in Business Information, Goals, and Data Collection Content
- Select the appropriate “Industry Category” and “Business Size,” then click “Next.”
- Choose your “Business Goals” based on your situation and click “Create.”
- Select your “Country/Region,” review the terms of service agreement, check the box for “I also accept the Information Processing Terms required by GDPR,” then click “I accept” to complete the setup.

Step 4: Start Creating Data Streams
- On the GA page, click on “Admin” and navigate to the “Data Streams” page.
- On the “Data Streams” page, click on “Web.”

Step 5: Set Up Data Stream and Obtain Measurement ID
- On the “Data Streams” page, click on “Web.”
- On the “Set up data stream” page, select “https://” and enter “ooopenlab.cc/” and customize the “Stream Name,” then click “Create Stream.”
- Obtain the “Measurement ID” on the “Web stream details” page.

(Optional) Step 6: Activate Google Signals Collection
For the initial account creation or when setting up data streams, go to the “Resources” page and click “Get Started” under “Data Settings – Data Collection” to activate Google Signals collection.

(Optional) Step 7: Set Event Data Retention
For the initial account creation or when setting up data streams, it’s recommended to go to the “Resources” page and on the “Data Settings – Data Retention” page, set “Event Data Retention” to 14 months.

Step 8: Set Up GA4 Tracking Code in Project Backend
Copy the “Measurement ID” obtained in step 5 and paste it into the Google Analytics 4 field in the “Share and Publish Settings” page of the OOOPEN Lab project to complete the setup.

Step 9: Check Installation Status via “Real-time Overview”
- Open another browser tab, navigate to the project page with the tracking code embedded, and stay on the page.
- Go to the GA page, click on “Reports – Real-time,” and navigate to the real-time overview page.
- After a period of time, if you can successfully view real-time project browsing activity, it confirms that the installation was successful.

Step 10: Check Embedding Status Again After 24 Hours
- After ensuring that the “Real-time Overview” data is displaying normally, submit at least one response to the questionnaire.
- 24 hours later, go to the backend, and you should be able to see data such as “page_view,” “click_button,” and “scroll” in the “Reports – Business Objectives – Events” section.

Setting Up GTM(Google Tag Manager)in 3 Steps
If you have different tracking platforms such as FB Pixel, GA4, and Google Ads, you can use GTM’s functionality to set up the GTM code in your OOOPEN Lab project. This allows you to track project effectiveness across various platforms through GTM without having to manually copy and paste codes into each platform.
Follow these steps to obtain and set up the GTM code:
- If you have never set up a GTM account before, start from step one.
- If you already have a GTM account, start from step two.
(Optional) Step 1: Begin Adding an Account
- Enter your account name and country/region in the “Account Setup” section.
- In the “Container Setup,” fill in the project URL and select “Web” as the target advertising platform.
- Read and accept the “Google Tag Manager Terms of Service Agreement,” check the box for “I also accept the Information Processing Terms for GDPR,” and click “Yes” to proceed to the next step.

Step 2: Setting Up Integration Platforms and Obtaining GTM Code
- On the “Code Management Tool” page, click “Add Code” and add the codes of different platforms to the GTM workspace.
- At the same time, you can obtain the GTM code (GTM-XXXXXXXX) at the top of the page.

Step 3: Setting Up GTM Code in the Project Backend
Copy the “GTM Code” obtained in step two and paste it into the “Google Tag Manager” field on the “Share and Publish Settings” page of the OOOPEN Lab project.

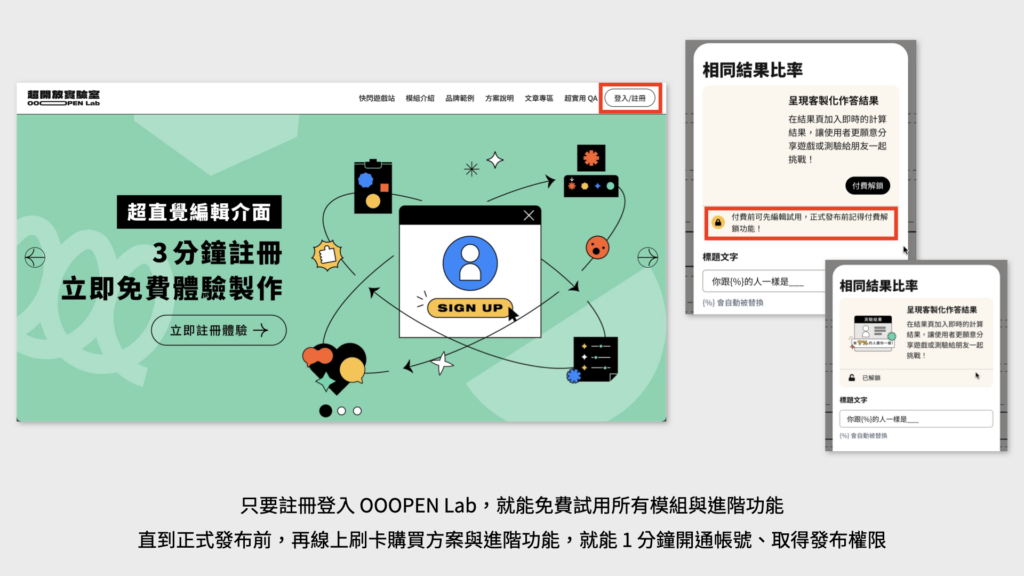
Now go ahead and register to start your free trial!
This article aims to help you create various tests/games/surveys! Just click “Log in/Sign Up” in the upper right corner to become a member, and you can edit and try all modules until they are officially released. Then, consider purchasing a plan to publish your project!